Student instructions - Zoom [Computer]
5. Your personal meeting room
If you need to use Zoom to continue working on your own or in groups, it's easiest to use the personal meeting room you were assigned when you registered your Zoom account. With this personal meeting room you can invite your student colleagues and meet them whenever you wish. When using your meeting room, you'll be assigned the role "Host" and automatically become the one who has all the features available in the room. If you want to use this meeting room, do the following steps:
1. Start Zoom
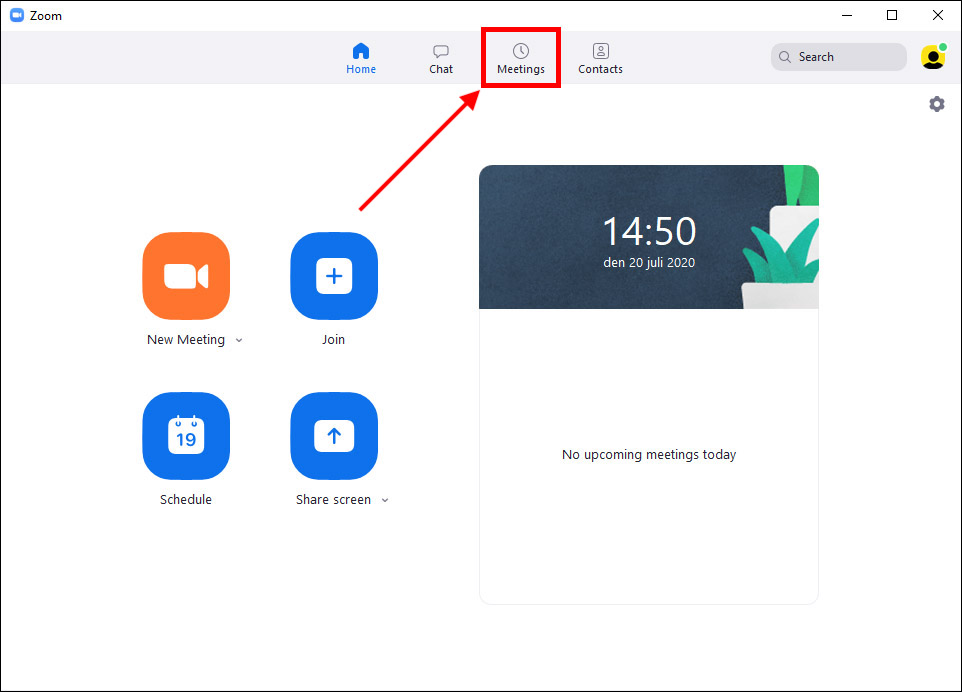
2. Click on "Meetings":

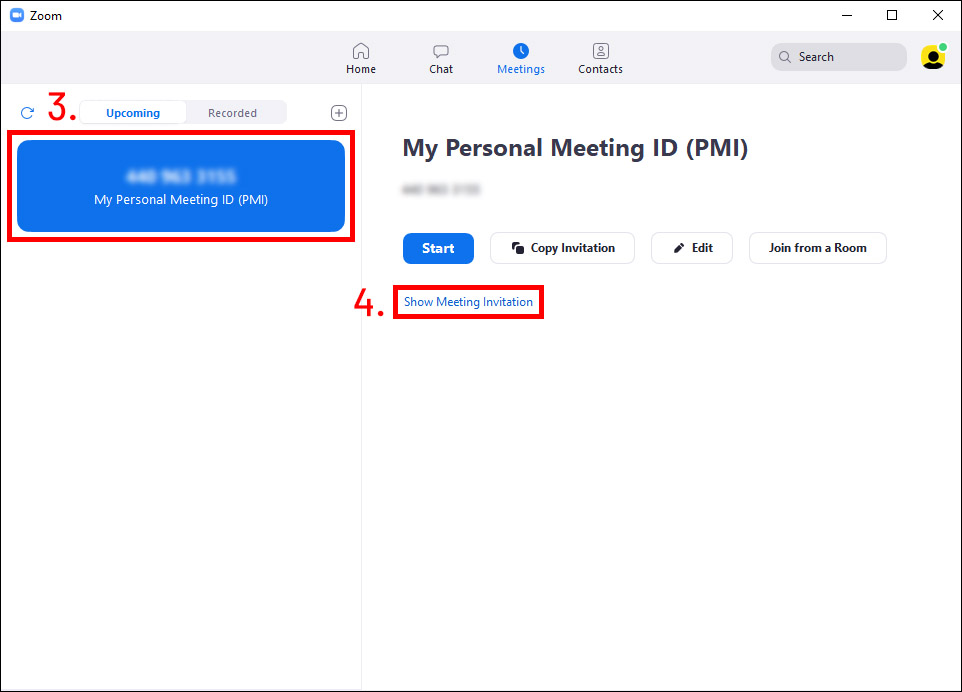
3. Make sure "My Personal Meeting ID" room is highlighted on the left. (Note the number combination, i.e. the meeting ID. It is actually this meeting ID that you hand out and that participants can connect to.)
4. Next, click on the link "Show Meeting Invitation":

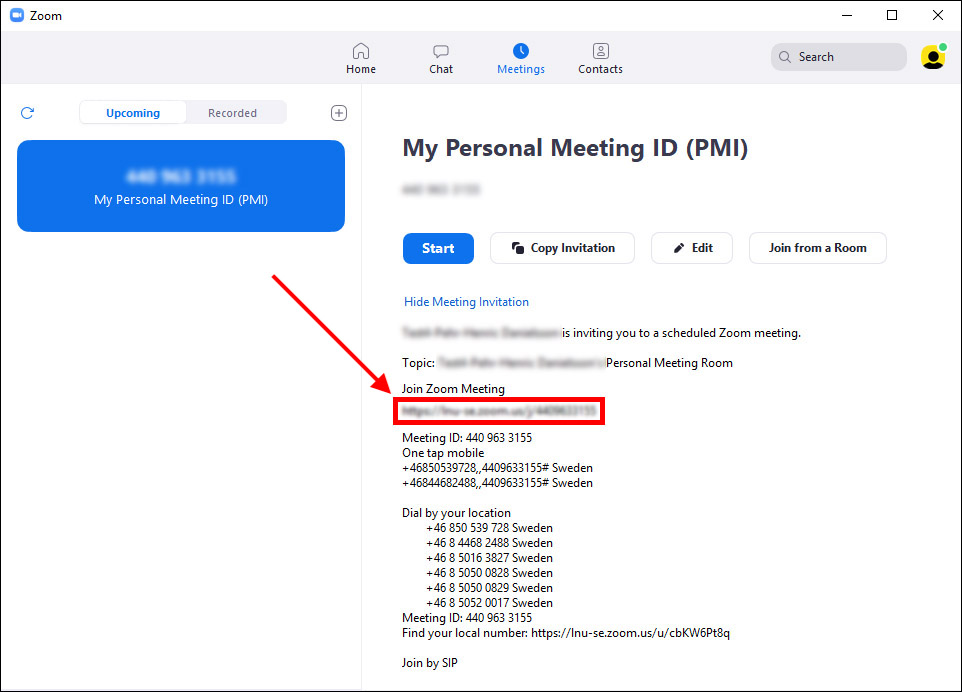
5. Now information is displayed about your personal meeting room and how to connect to it. Copy the web link that appears under the "Join Zoom Meeting" heading:

6. You can now distribute this web link to your fellow students and ask them to join your meeting by clicking on the link
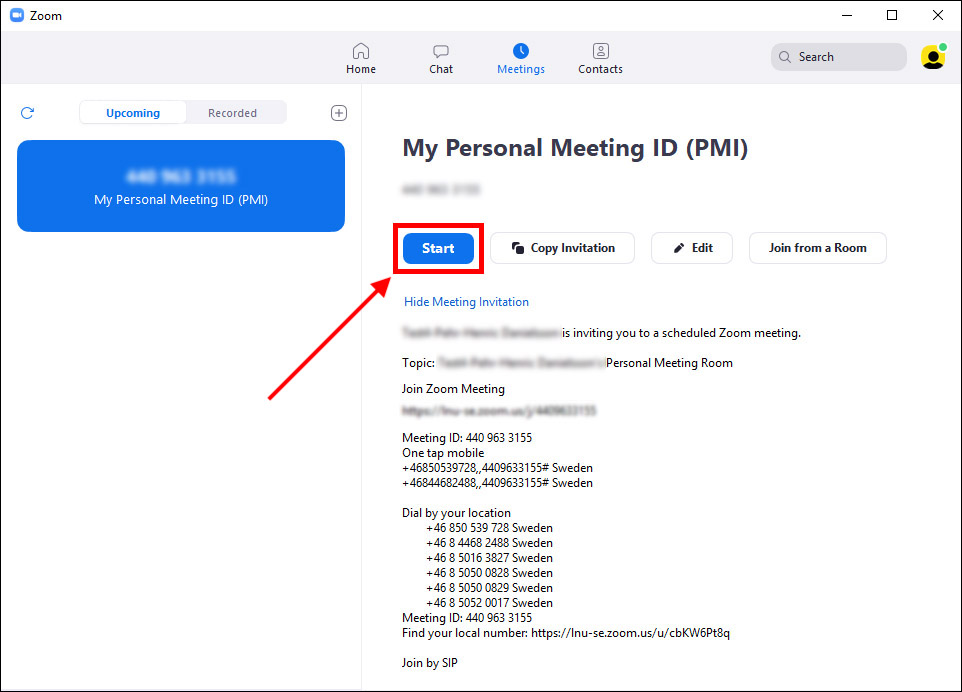
7. To connect to the meeting yourself, you can also click on the web link or click on the "Start" button when you have selected your meeting room in Zoom (because you are the owner of the room):

Important information!
Remember to ONLY use the personal meeting room in study contexts and NOT in public contexts to reduce the risk of you being hacked or blocked from your own meeting room. See chapter 6 for more info about safer meetings.
Tip!
You can also create your own groups in the contact list in Zoom and invite your student colleagues that way. Sometimes this can even be a smoother way to work than the personal meeting room. See the guide for this in chapter 6.
